Create limits in the UI
This section outlines how to create limits in the UI.
You start with setting up the business details of your limit, common to all your limit values: name, reference ID for your external system, and so on. Then you specify the risk data source. This creates the limit’s structure. This process is outlined in Create a limit structure.
Once that’s done, you add your limit values, as explained in Add limit values.
Create a limit structure
To create your limit’s structure:
- From the Limits Inventory, click Create New Limit Structure. The Limit Structure panel is displayed.
note
Only authorized users are able to create limits. The button is disabled for unauthorized users.
- Enter the details of your new limit structure.
info
Required fields are marked with a red asterisk in the UI.
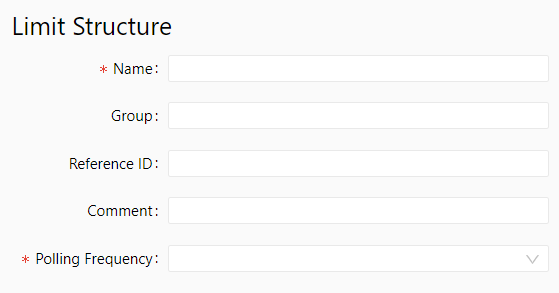
| Field Name | Description | Example |
|---|---|---|
| Name | This is the name of the limit. To visualize limits and exposures for drill-down in a pivot table, Cube KPIs are used (traffic lights). If you need to build a pivot table and visualize a limit value, search for a KPI with the same Name. |
Equity delta limit |
| Group | Name of a group of limits. Group is a way of organizing similar limits. | Operational limits |
| Reference ID | The Reference ID for a limit in an external system, if you have one in your organization. | id_12345 |
| Comment | Free text note about the limit. | These are equity delta limits managed by the GMCCR department |
| Polling frequency | Specifies how often the limit is checked for a breach. The available options are: - End of day: Limits are evaluated at the end of each day for breaches. - Intraday: Limits are evaluated at regular intervals. By default, the checks are run every 5 minutes. note The frequency of evaluation can be changed in the limits.properties configuration file: |
Intraday |
- In the Risk Measure section, specify the Cube and the Measure to which the limit applies:

| Field Name | Description | Example |
|---|---|---|
| Cube | The cube that contains risk data to compute the utilization. Atoti Limits will create KPIs to visualize limits as traffic lights inside this risk data Cube. | Sensitivity Cube |
| Measure | The risk measure against which the limits are set. note Limits on Calculated Measures can only be created by uploading limit definitions in a CSV file. For more details on Calculated Measures, see Measure Types |
Equity Delta |
If limits is configured for more than one business Cube, for instance FRTB and MR, a Server field is displayed, allowing you to select the required server.
- Set the Scope:
Scope determines the attributes used to define limit values. For example, if a limit will be defined and monitored along desk, instrument, and region, select the “Desk”, “Instrument” and “Region” for this limit. You can choose any level of the currently selected Cube and a corresponding value from said level.
Multiple hierarchy levels can be used in a single limit structure. See also Setting limits on hierarchical data.
Click the + button to open a dropdown of scope categories. Select from the dropdown or start typing in the search field at the top of the dropdown.
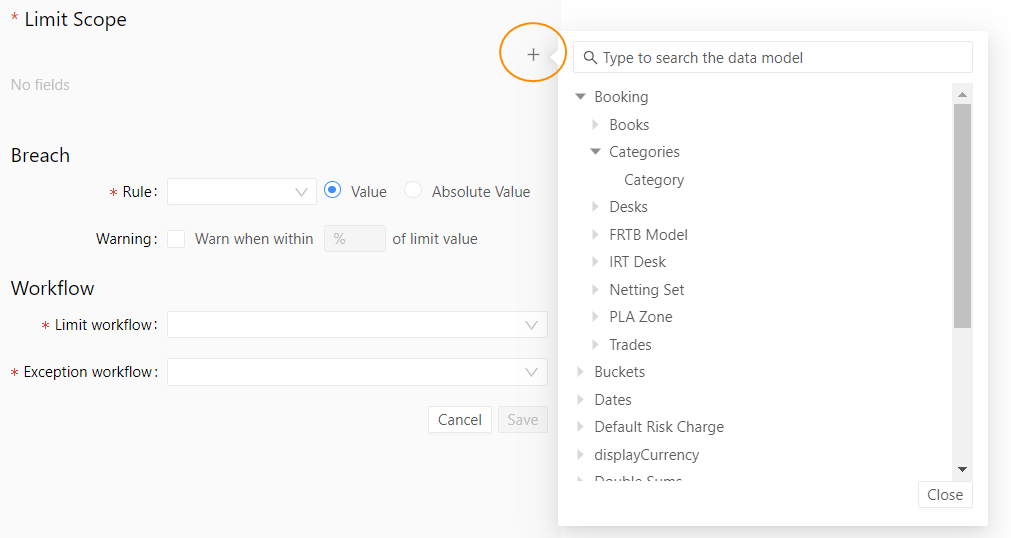
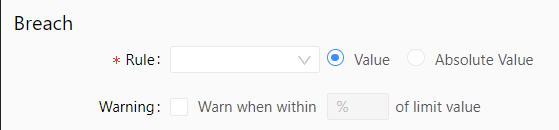
- In the Breach section, specify the rule and the warning threshold:
| Field Name | Description |
|---|---|
| Rule | The supported limit rules are: - Greater Than: The limit has a breach status when the measure value is greater than the specified value. - Less Than: The limit has a breach status when the measure value is less than the specified value. |
| Value/Absolute Value | Sets whether the measure value should be interpreted as an absolute value when comparing to limit value. This is useful, for example, when you want to set sensitivity limits, which can be positive or negative numbers, but should be monitored as an absolute value. |
| Warn when within | Enables or disables warning status when within a specified percentage of the limit value. This is useful when you want to monitor when limits have high utilizations, for example, over 80%. |
| % of limit value | A percentage value that defines a percentage threshold from the limit value, which results in a limit warning. In a pivot table, the traffic light will display amber status for the limit, and a Warning exception will be generated. For a Greater Than limit, this is the percentage of utilization where a warning is triggered. For example, on a limit where there is a breach at 10,000 and a warning at 90%, the warning will be triggered at 9,000. For a Less Than limit, this is the percentage of the limit over the breach. For example, if a limit is defined as breaching when below 10,000, a warning of 10% will be triggered when the value is 11,000. |
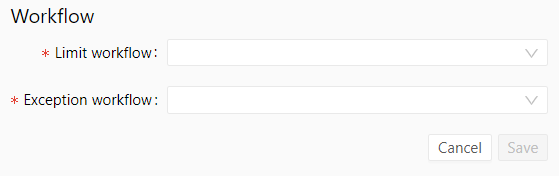
- In the Workflow section, select the type of workflow and the level of scrutiny for each workflow.
| Field Name | Description |
|---|---|
| Limit workflow | Limit management workflow type. This workflow is required for amending the limit value on a defined/approved limit. The approval types in the core solution are: - StraightThrough: There is no approval needed. - FourEyes: In addition to the person doing the action, another person needs to approve for the action to be effective. When this workflow is selected, you need to select an Examiners user group for approval. - SixEyes: In addition to the person doing the action, two other separate people need to approve for the action to be effective. When this workflow is selected, you need to select an Examiners and Approvers user group for approval. For details on extending the workflows, see Limit Workflow. |
| Exception workflow | Exception workflow type. The Exception workflow type defines the behavior for both limit breaches and warnings. In the reference implementation, the workflow is called ‘Exception’ and is defined in limit-process-exception.bpmn. |
- Click Save to create your new limit structure.
note
A newly submitted definition will be checked if an existing limit has the same name, cube, measure and scope. If their dates overlap with any existing limit, the newly submitted definition will be rejected.
Setting limits on hierarchical data
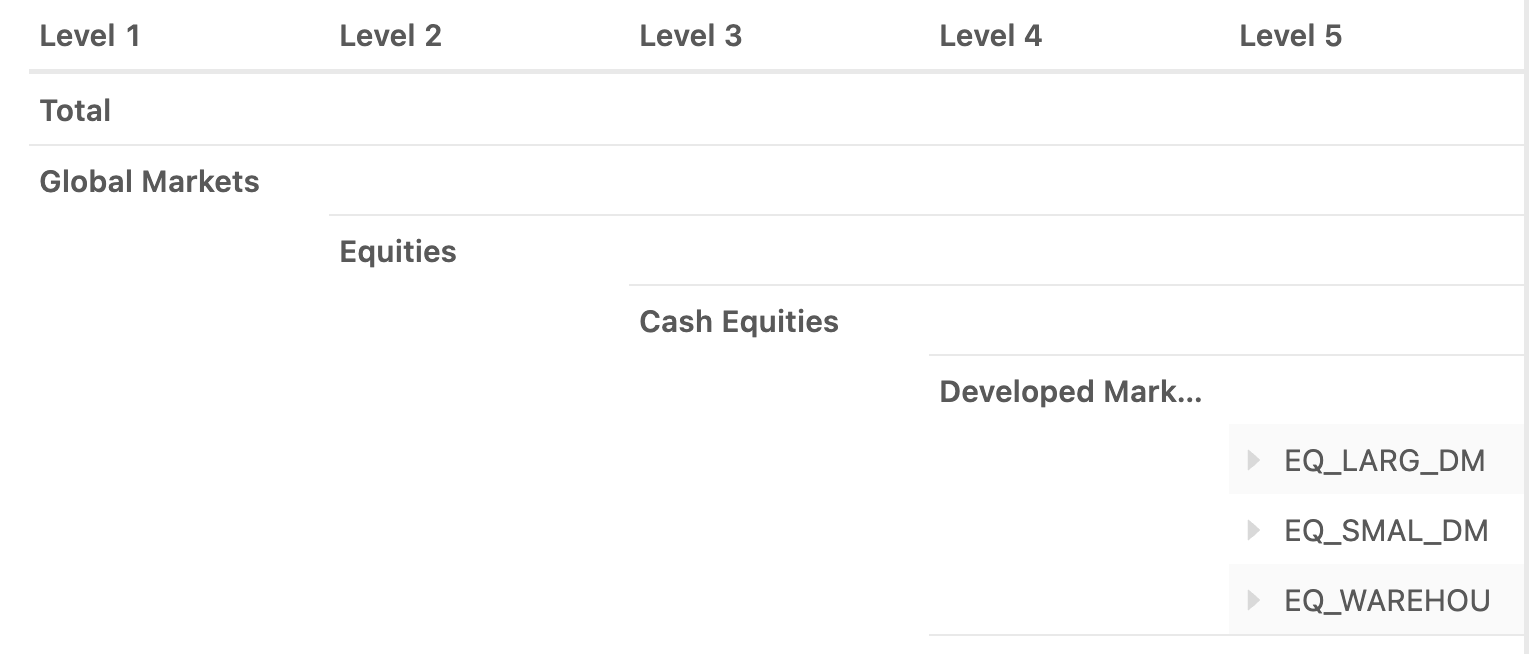
You may want to use multi-level hierarchies in your limit definitions. Typical examples of multi-level hierarchies are counterparty hierarchies and book hierarchies.
Here’s an example of a book hierarchy. Let’s say you want to set a limit on Level 5, equal to FI_IG_FLOW.
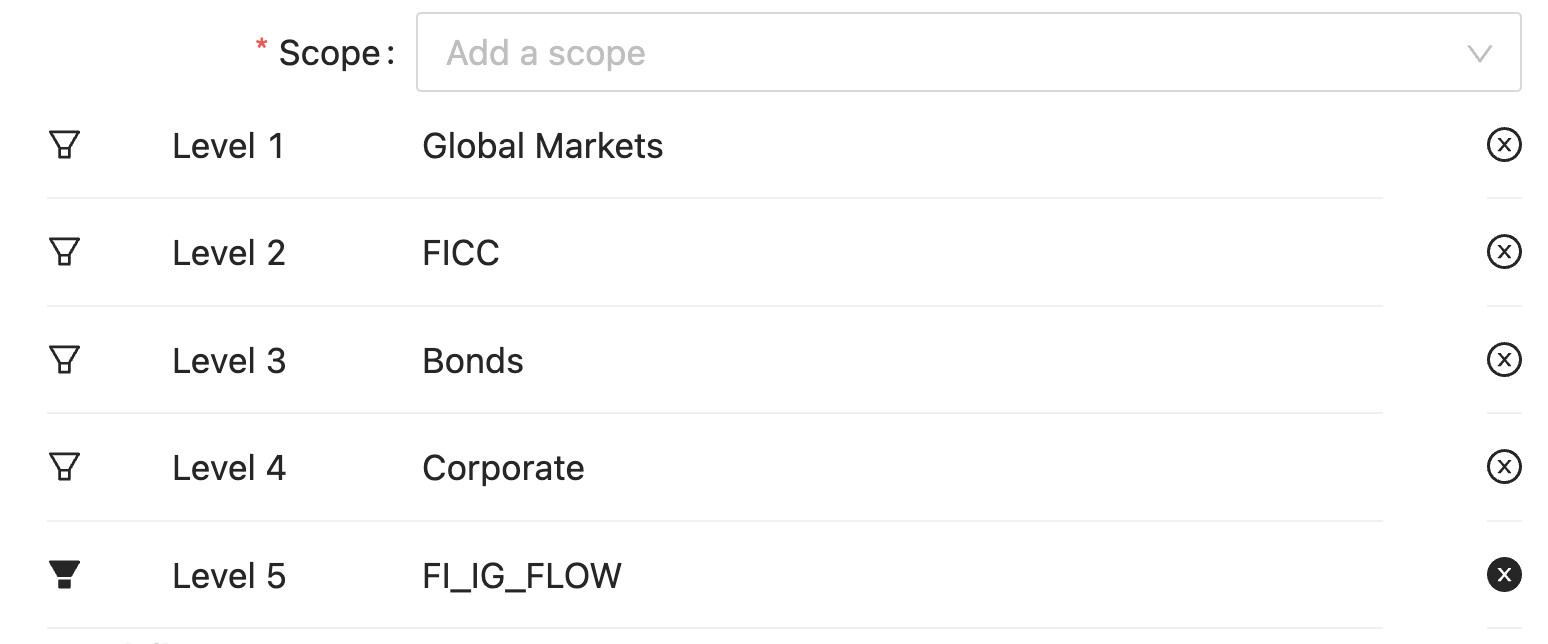
When setting a limit on a particular node in a multi-level hierarchy, the Limits Inventory captures and stores the full path to that node in the limit structure.
So, in our example, when setting a limit at Level 5 equal to FI_IG_FLOW, the system will capture the values of Level 4, Level 3, Level 2, Level 1 above FI_IG_FLOW:
Add limit values
Once your limit structure is created, an empty table appears that you can populate with limit values. The table will contain the attributes you selected in the Scope for this limit.
To add a limit:
-
Click Add in the top right of the screen.
A row is created in the table for your new limit.
-
Fill in the required fields, then click Save.