Measure Types
A limit has an underlying measure that is used to evaluate the limit. Under the hood, Limits will create a KPI on that measure to allow for monitoring. A limit can be defined on any Cube Measure (normal PostProcessed or Copper measures) as well as Calculated Measures.
Cube Measures
Cube Measures are measures that exist within a particular cube. These measures can be selected when creating a limit through the UI or can be specified in an input file.
Calculated Measures
A Calculated Measure is a user defined measure created in the UI. You can publish it, but if it is not published, it is not particular to any cube or even server. Unpublished Calculated Measures exist in the context of the UI and don’t exist in the Cube. Because of this, in order to create a limit on a Calculated Measure, the limit definition has to be uploaded through a CSV file. The UI does not have any functionality to create a limit on a Calculated Measure. A limit on a Calculated Measure functions the same way as any other limit.
note
When viewing a limit whose underlying measure is a Calculated Measure, you will have to bring the Calculated Measure into your Pivot Table.
You need to bring the Calculated Measure into your Pivot table so the Calculated Measure exists within the context of the MDX query. Calculated Measures are always defined at runtime and do not persist within the Cube, instead, they persist in the Content Server which the UI manages. Because of this the Calculated Measure adds its definition to the MDX Query any time it is evaluated. Our limit KPI will need this in order to evaluate in a Pivot Table, otherwise our KPI will not be able to find the Calculated Measure.
Limit on a Calculated Measure Example
In the following example we will go through creating a Calculated Measure and then creating and using a limit on the Calculated Measure.
Create a Calculated Measure
First, let’s create a Calculated Measure through the UI.
Enable Creating Calculated Measures in UI
Before we start, we first need to ensure that we can create Calculated Measures through the UI. To check this, navigate to the Content Server and check either the organization_settings file or the permissions on an individual user basis.
We will need to add the following property to the organization_settings file or individual user settings files:
"calculatedMeasures.areEnabled": true
We will first need to navigate to the content server, located at:
/content/ui
Example using the FRTB Acclerator:
http://localhost:8080/frtb-starter/content/ui
organization_settings File
The organization_settings file is located at /ui/organization_settings:
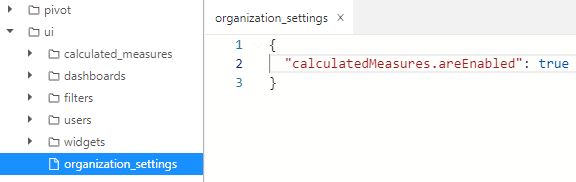
If this file does not exist then we can create it with a blank JSON structure.
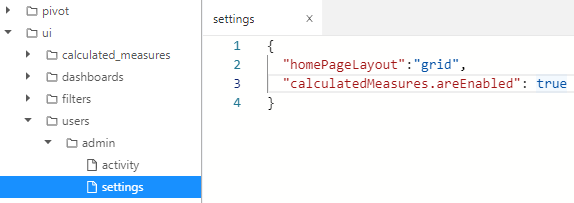
User settings File
We can navigate to the individual user’s settings by going to /ui/users/USER_NAME/settings:
Create new Calculated Measure
With the Calculated Measures enabled, we can create a new calculated measure through the Calculated Measure button. We will create a Calculated Measure named Scaled PV which will scale the PV measure by a factor of 1000:
Save Calculated Measure
In order to to use our Calculated Measure with a limit, we must save the Calculated Measure by clicking the Save icon on the measure in the Content editor:
This will save the measure definition onto the Content Server.
Publishing A Calculated Measure
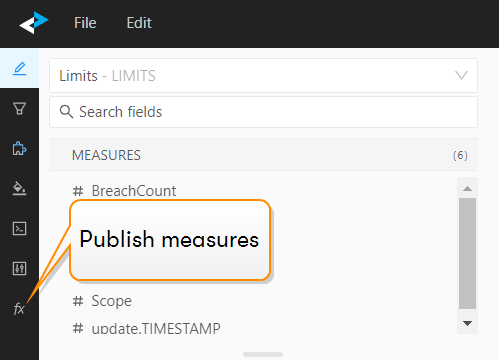
Once a calculated measure has been created, you can publish it to the cube. This can be done using the Publish Measures drawer on the left bar of the application.
note
If you can’t see your calculated measures here, make sure you save them first. See Save Calculated Measure.
When you are ready to publish you measure:
-
Click the Save and Publish measures button on the left navigation bar.
This displays a list of your saved measures. -
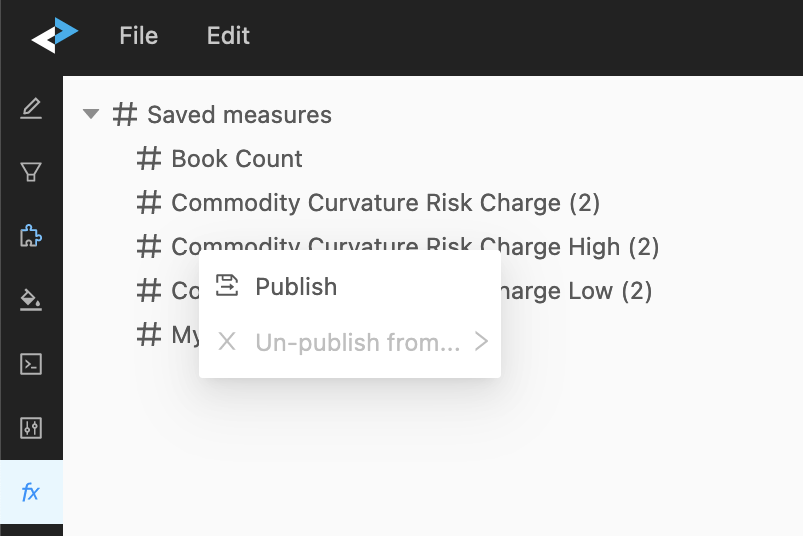
Right-click on your measure, and in the context menu, click Publish.
This opens a popup, which allows you to specify the cube.
- In the firt dropdown, select the cube where you want to publish your measure. In the second dropdown you can assign read/write permissions to particular roles.
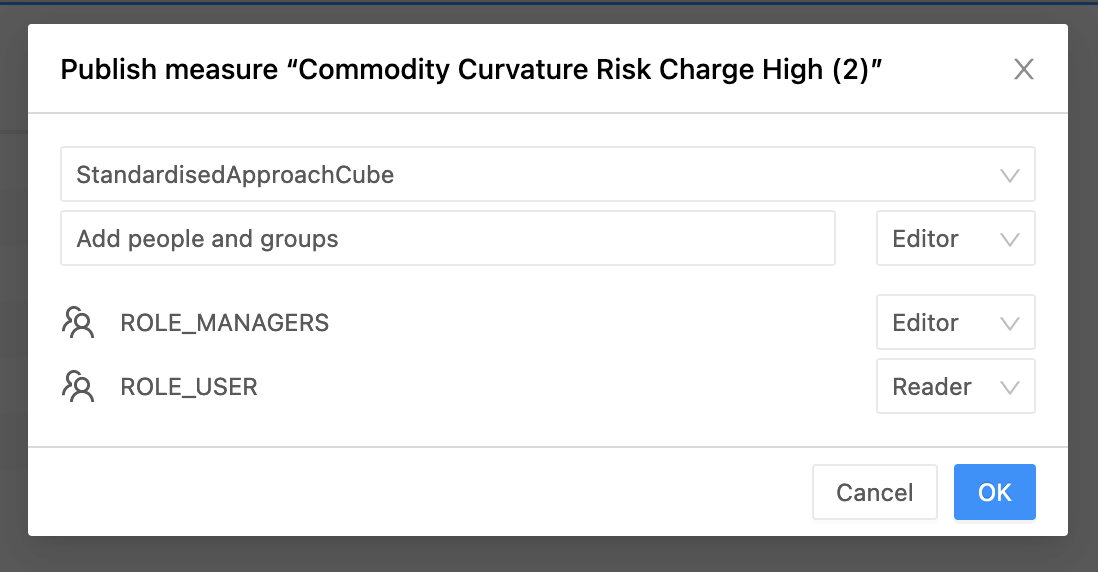
- Click OK.
Your measure is now published to the specified cube.
Create Limit on Calculated Measure
The Limits Creation Widget can’t used to create a limit on Calculated Measures, so we must create the limit by using the Limits Inventory’s File Upload functionality. We can define our limit with its measure being our Calculated Measure “Scaled PV”. We will upload the following Limit Definition file:
Group,ID,Name,Comment,From,To,FrequencyType,PollingFrequency,CCY,KpiType,LimitValues,AbsoluteValueIndicator,WarningThreshold,MeasureName,Scope,Precedence,LimitStatus,WarningWorkflow,WarningWorkflowParameters,BreachWorkflow,BreachWorkflowParameters,ChangeWorkflow,ChangeWorkflowParameters,userID,CubeName,ServerName
Calculated Measure,CM_01,Limit on Scaled PV,,2018-03-01,,OFFICIAL,EOD,USD,Greater Than,1000000,false,,Scaled PV,Desk=*,,APPROVED,,,,,,,User_1,StandardisedApproachCube,FRTB
Viewing Limit KPI on Calculated Measure
To view our KPI, we need to ensure that the Calculated Measure exists in the context of our Pivot Table. To do this, let’s add the saved Calculated Measure to the Pivot Table. Not having the Calculated Measure in the context of our Pivot Table or MDX query will display an error that the underlying measure cannot be found. We can simply resolve this error by brining the Calculated Measure in.
The Calculated Measures are located under file/Saved measures
Here we can see adding the limit’s Status causes a “Measure Not Found” error. We can add the Calculated Measure into our Pivot Table to resolve this issue.