Audit History screen
The Audit History lets you view all your audit entries in a single screen.
Check out our video overview of the Audit Service:
Accessing the Audit History screen
To view your audit history, navigate to the Audit History screen in Atoti UI. You can access it by clicking the Audit menu item in the top right hand corner of the application. The Audit History screen displays all audit entries for the servers that have been configured. For more information on this, see Configuring the UI.
![]()
Configuring the table
Once on the Audit History screen, you will see a table with the following columns displayed by default:
| Column | Description | Example |
|---|---|---|
| ID | The numeric ID of the audit entry. | 1 |
| Object ID | The ID of the object that was changed. | sign-off-definition::2023-09-01 |
| Type | The type of the object that was changed. | SignOffProcessDefinition |
| Field | The field that was changed. | status |
| Old Value | The old value of the field. | status |
| New Value | The new value of the field. | Saved |
| User | The user who made the change. | Published |
| Timestamp | The timestamp of the change, in your local time zone. | 2025-03-14 11:05:06 |
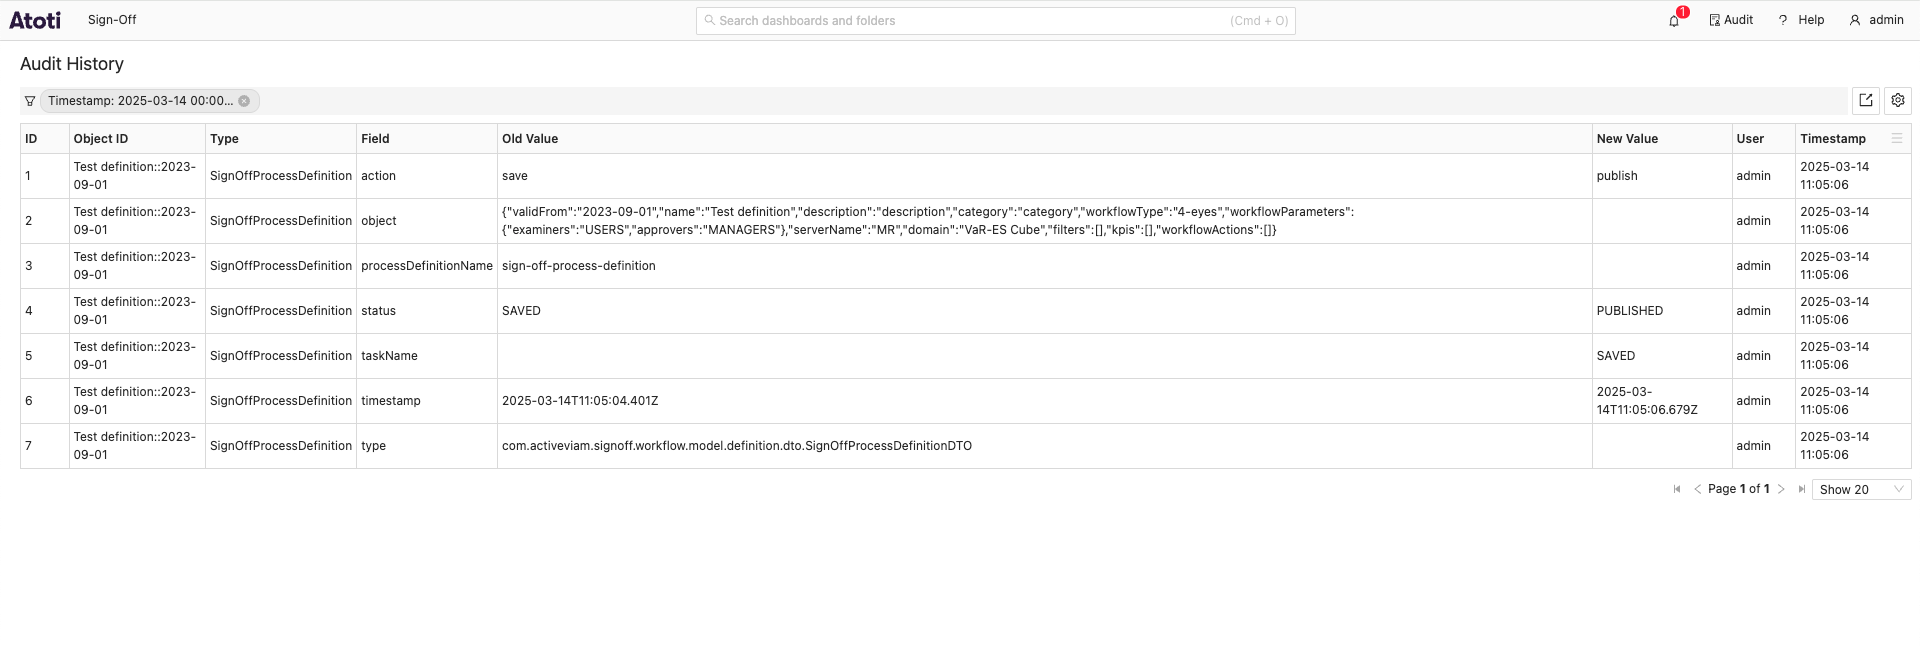
By default, the table displays audit entries for the current day, but you can filter and sort the data in a way that best suits your needs.
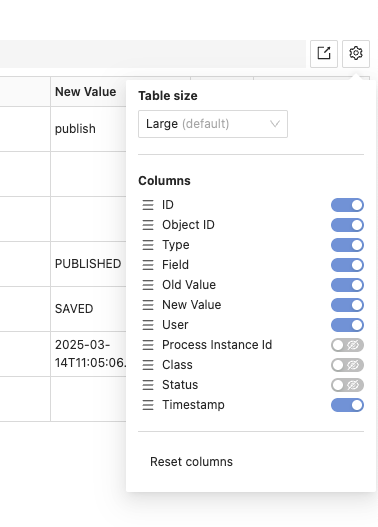
Additional fields can be added to the audit entry, see Getting started for more information.
These will be hidden by default, but can be enabled by toggling the column visibility in the column configuration.
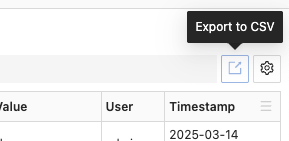
Exporting data
You can export the data from the audit table to a CSV file. To do so, use the export button located in the top right corner of the audit history table.
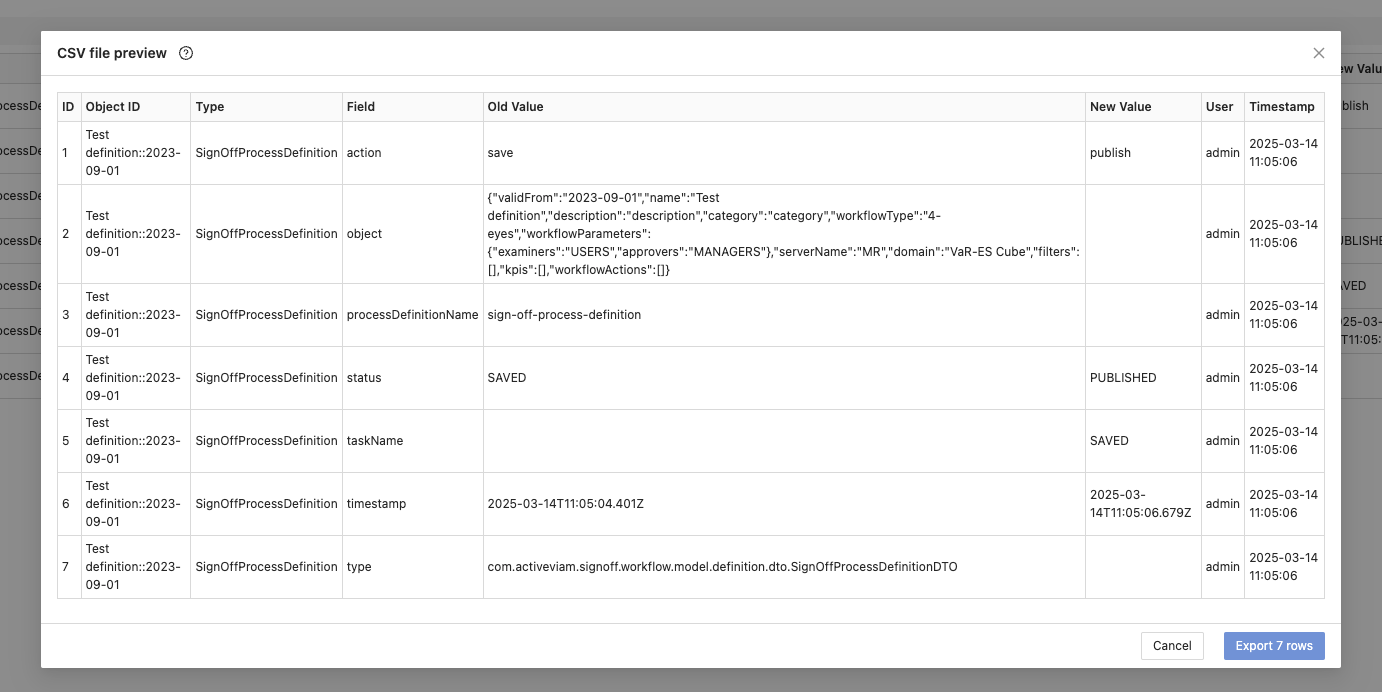
Clicking the export button displays a preview of the data to be exported. Click “Export X rows” to download the CSV file.
tip
The exported data takes into account any table configurations you may have, including filters, sorting, and columns.