Setup
Install your tools 🛠️#
Make sure you have the following installed:
Download and install the ActiveUI starter#
- Login to our Artifactory.
- In the left bar, expand the
activeui-generic-releasefolder. Inside that, expand the latest available release folder. - Download the artifact called "activeui-starter-source-{version}.zip"
- Create a new folder
ActiveUITutorialon your file system and unzip this artifact into it. - Open a terminal and
cdintoActiveUITutorial. - In the terminal, run the following command:
yarnThis installs the ActiveUI starter. In particular, it downloads all the dependencies our project needs.
note
The first time you run it, you will encounter the following error:
An unexpected error occurred: "https://registry.yarnpkg.com/@activeviam/activeui-scripts: Not found".
This is expected: @activeviam modules are published to Artifactory, not NPM.
To fix this, run the following command:
npm login --scope=@activeviam --registry=https://activeviam.jfrog.io/artifactory/api/npm/activeui-npm-release/ --authType=legacyWhen prompted for your username, password and email, enter your ActiveViam credentials.
Finally, run this second command:
npm config set @activeviam:registry https://activeviam.jfrog.io/artifactory/api/npm/activeui-npm-release/Explore the project files#
Below are some of the key files in the starter:
plugins.tsxwhich imports a number of plugins from@activeviam/activeui-sdk.index.tsxwhere we can find a function calledactivatethat adds thesepluginsinto apluginRegistry.env.development.jswhere the URL of our server is defined for our development setup.env.production.jswhich defines the same thing, but this time for our production build.
Start the application in development mode#
In the terminal, run:
yarn startThis starts the application in development mode and opens it up in a new browser tab.
Now, everytime we edit a file and refresh the browser, our changes will be taken into account.
Let's try it!
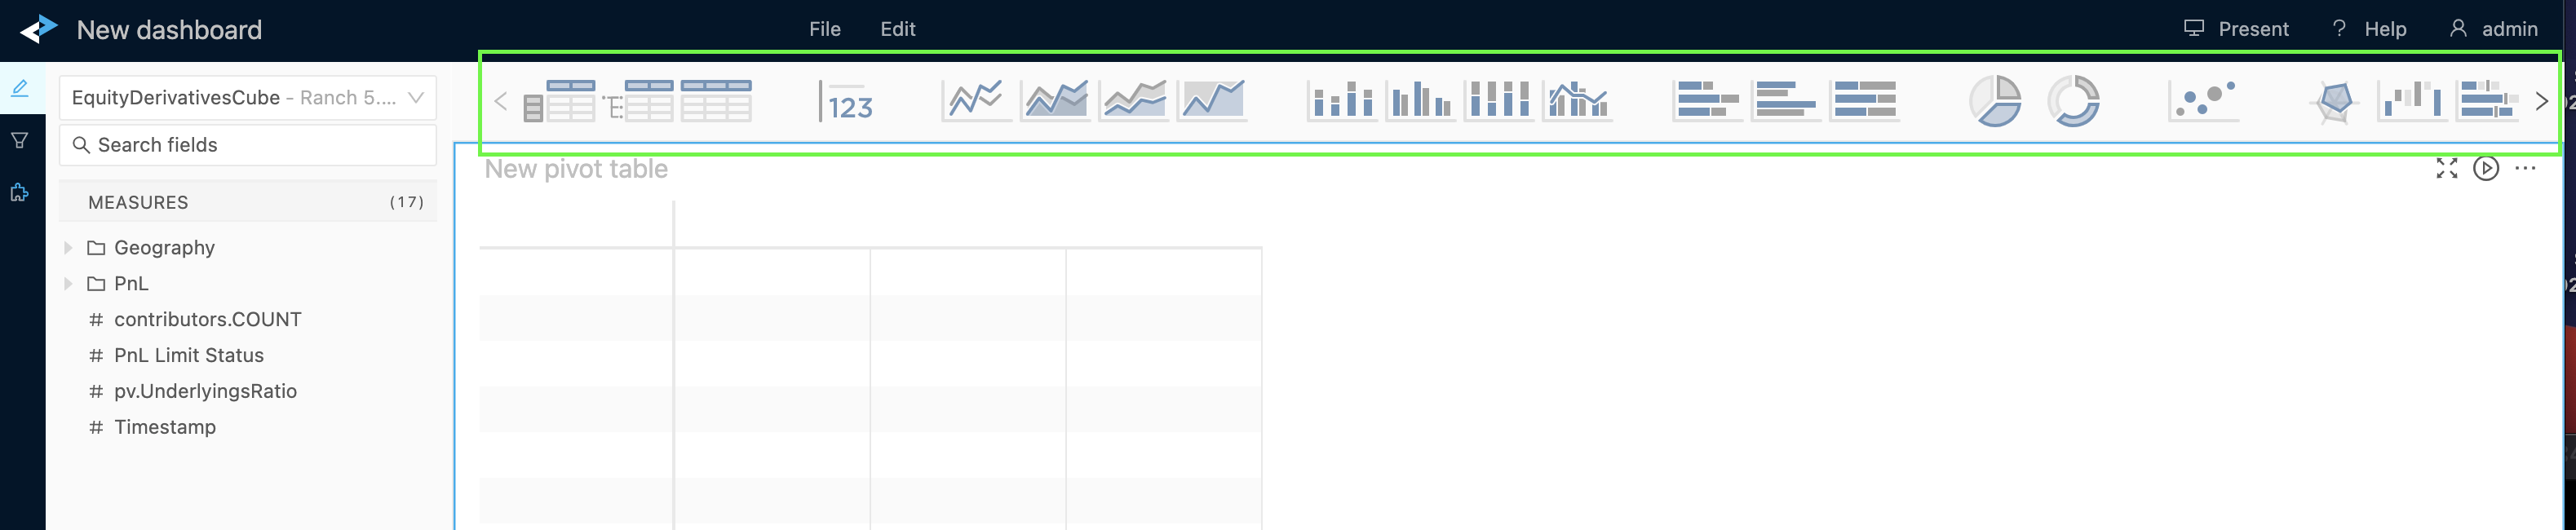
First, create a dashboard and inspect the widgets ribbon. It's full of widgets!
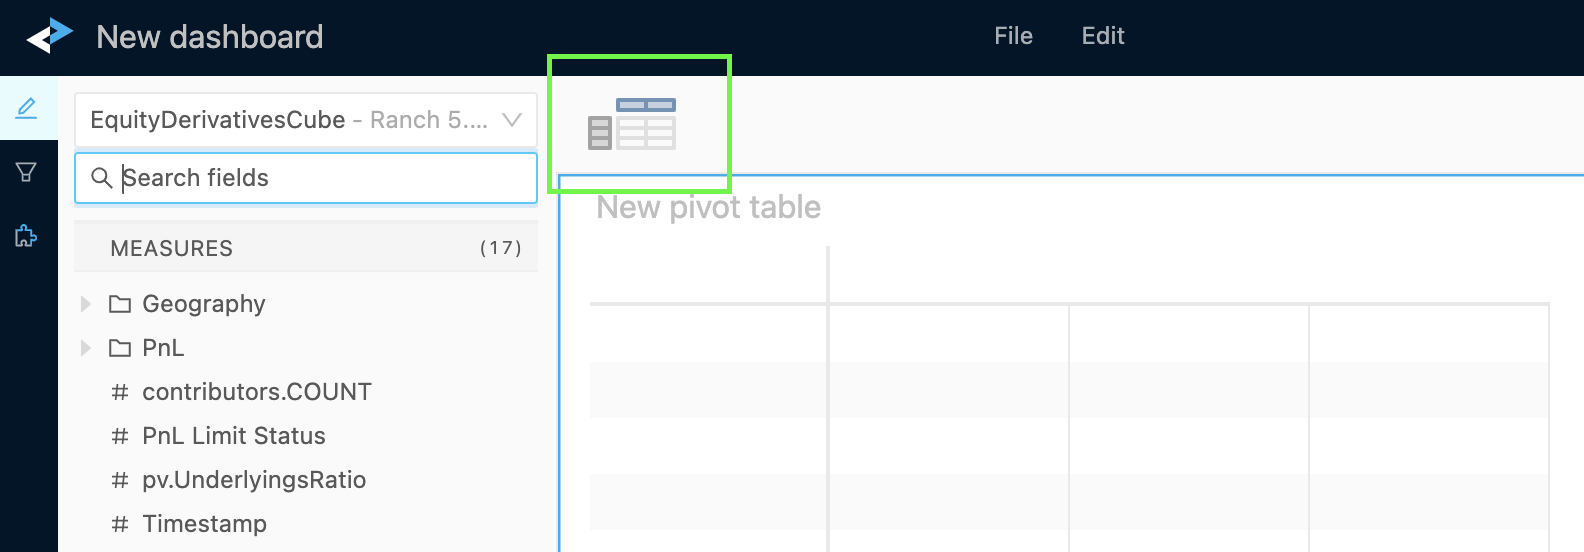
Next, find the widgetPlugins array in plugins.tsx, and remove all widgets from it except for the pivot table.
const widgetPlugins = [pluginWidgetPivotTable];After we refresh, only the pivot table remains in the widgets ribbon!
 .
.
Now let's undo this change, so we can access all the widgets later in the tutorial.
Target the tutorial server#
In the 2 env files, we can change the server URLs in order to target the tutorial server:
env.development.js and env.production.js
- contentServerVersion: "6.0.0-SNAPSHOT",- contentServerUrl: "https://activepivot-ranch.activeviam.com:5999",- // WARNING: Changing the keys of activePivotServers will break previously saved widgets and dashboards.- // If you must do it, then you also need to update each one's serverKey attribute on your current server.+ contentServerVersion: "5.9",+ contentServerUrl: "https://activeui-tutorial-server.activeviam.com:9090", activePivotServers: {- // You can connect to as many servers as needed.- // In practice most projects only need one.- "Ranch 6.0": {- url: "https://activepivot-ranch.activeviam.com:5999",- version: "6.0.0-SNAPSHOT",- },- "Ranch 5.11": {- url: "https://activepivot-ranch.activeviam.com:5110",- version: "version: "5.11.1",- "Ranch 5.9": {- url: "https://activepivot-ranch.activeviam.com:5900",- version: "5.9.4",- },+ "my-server": {+ url: "https://activeui-tutorial-server.activeviam.com:9090",+ version: "5.9", }, },Because the above changes are in the env files, we should rebuild and restart the server:
- In many terminals the keyboard command to stop the server is Ctrl + C.
- Then rebuild by running:
yarn build- You can then start the server back up by running:
yarn startnote
After making this change, if you reload while on a dashboard, you might see a warning that no dashboard was found. This is expected. Just return to the home page and continue on from there.
Build the application for production#
Development mode is handy because it allows us to easily debug the application. However, it is not fit for production because the processes that allow us to debug also dramatically slow down the app.
To create an optimized production build, lets return to the terminal and run:
yarn buildThis creates a number of files under /build, which can then be deployed using an application server.
For example, we could copy them into the webapps folder of a Tomcat server and start it in order to serve the optimized application to our users.
Alternatively, you can run it locally from the ActiveUITutorial folder by running npx serve ./build