
Documentation Index

Fetch the complete documentation index at: https://docs.activeviam.com/llms.txt

Use this file to discover all available pages before exploring further.

Microsoft Excel communicates seamlessly with Atoti Server by way of the XMLA protocol, without the need to install any add-ins. Excel on Atoti supports the same set of functionalities as Excel on Microsoft SQL Server Analysis Services 2008. For each new Atoti Server release, we test queries on the sandbox project from Microsoft Excel, thus making sure we stay compatible.

Connecting to an Atoti Cube in Excel via the MSOLAP Data Provider

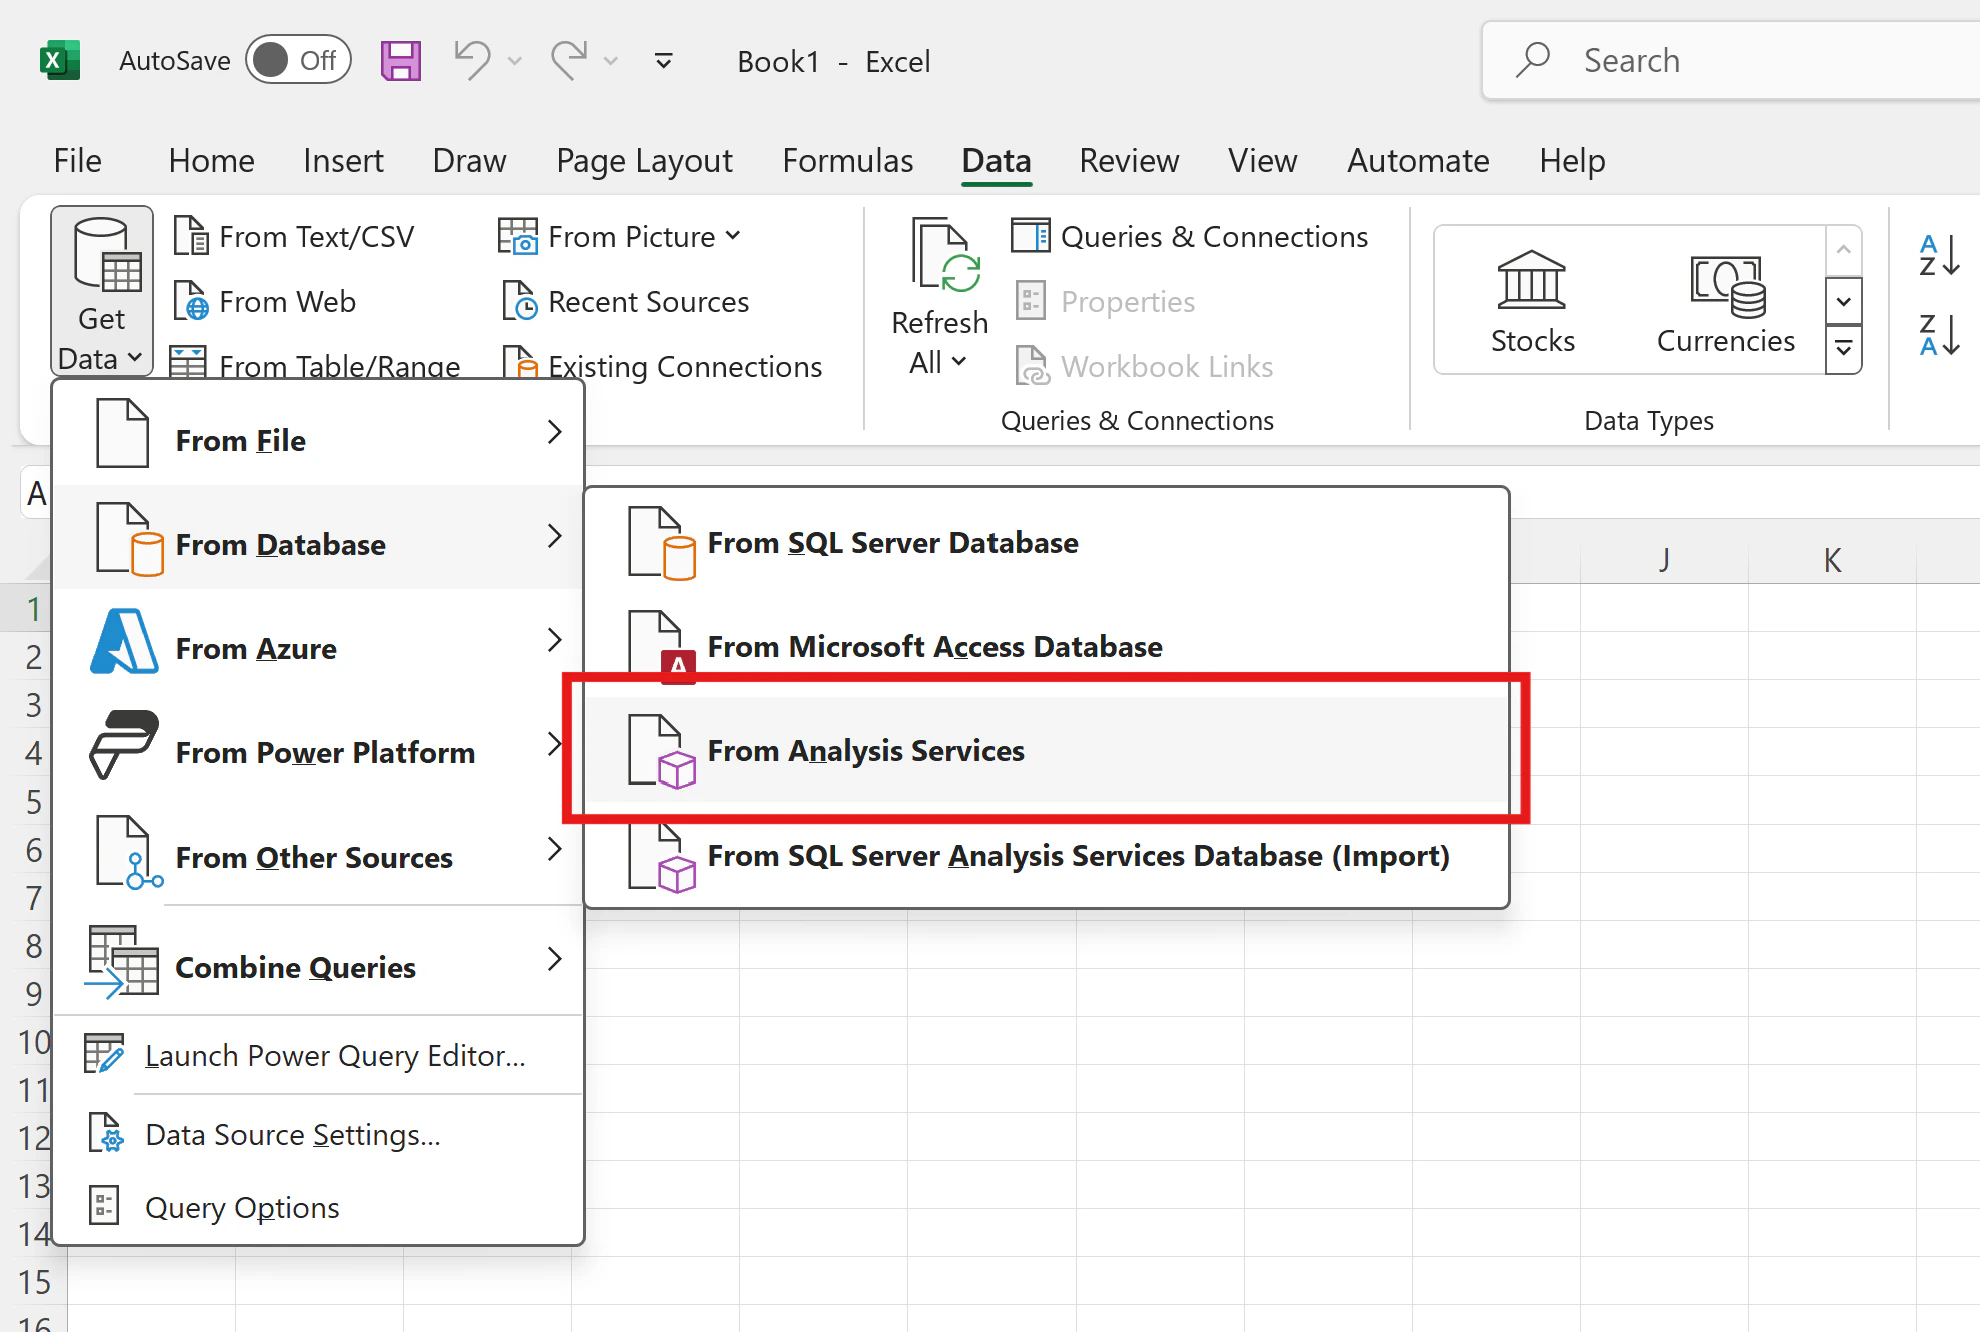
The MSOLAP data provider is also referenced in other articles as the MSAS driver since it is designed to connect to a Microsoft SQL Server Analysis Services server.
Here are the steps to configure a connection using the MSOLAP 10.0 data provider, including steps related to security configuration. The screen captures are made with Excel 2010. First, open the data tab in Excel and choose to connect to a MSAS server:
Data from Analysis Services
Then enter the connection information and hit next:
Connection Wizard
In this example, 
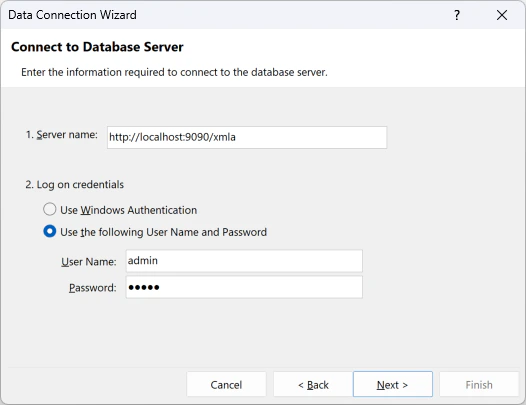
http://localhost:9090 is the host and port where Atoti Server is running (defaults of the Atoti Server sandbox project) and /xmla is the path to the XMLA service on Atoti Server, with which Excel will communicate. 
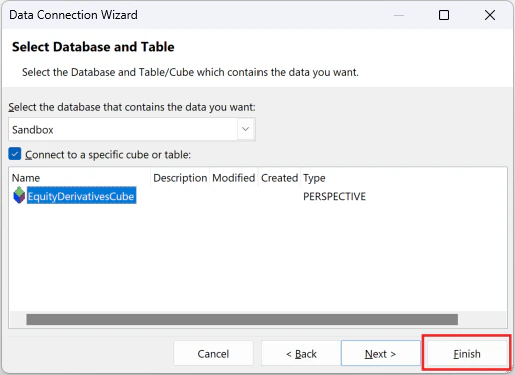
You are then prompted to choose the catalog (called database in this window), here we choose Sandbox, and then the cube:
Choose Catalog and Cube
Excel is now asking where to place the pivot table, and here we can change the properties of the connection when choosing the 
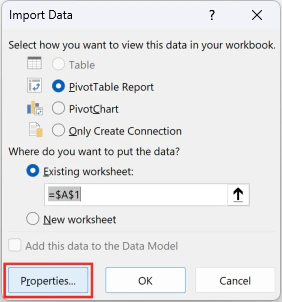
Properties... button:
Accessing Connection Properties
Here we ask Excel to remember the password in the connection file it will create. Of course this is an optional step, you may want to be asked the password at every connection for obvious security reasons. The sandbox project has hardcoded credentials and does not hold sensitive data, so we go for the easiest route. Often on a “real” project, SSO will be enabled, and thus you can reuse your windows credentials. Other parameters of the connections can be changed in this window too:
Properties: Save Connection Password
After having changed parameters, we click OK to close the Connection Properties window, then we click OK again to create the pivot table. That’s done! An empty pivot table appears on Excel, and you can choose the fields to add to it:
Excel with Empty Pivot Table