> ## Documentation Index
> Fetch the complete documentation index at: https://docs.activeviam.com/llms.txt
> Use this file to discover all available pages before exploring further.
# Upload limits
> How to bulk-create limits in Atoti Limits by uploading a CSV file from the Inventory screen.
Another way to create limits is to upload them in a CSV file within the **Inventory**.
Check out our video on how to upload limit structures and limits using CSV files:
To upload your files:
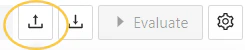
1. Click the Upload button.
 A dialog is displayed with two tabs:
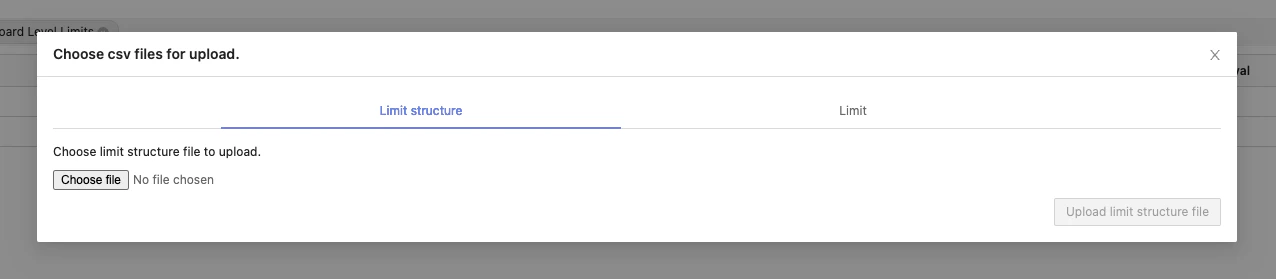 * Upload a **Limit structure** file. For details on the valid input file, see [Limit Structure](../../input-files/limit_structures). If you haven’t got any limit structures created, upload this first.
* Upload a **Limit** file. For details on what the CSV file should contain, see [Limits approve](../../input-files/limits_approve).
When uploading a limit file, any referenced limit structures must be created first, either in the UI, or by uploading a limit structures file.
2. Choose a valid CSV file from your local drive: click **Choose file** and navigate to the required file, then click **Open**.
Atoti Limits displays a preview of your file in a table before the upload:
* Upload a **Limit structure** file. For details on the valid input file, see [Limit Structure](../../input-files/limit_structures). If you haven’t got any limit structures created, upload this first.
* Upload a **Limit** file. For details on what the CSV file should contain, see [Limits approve](../../input-files/limits_approve).
When uploading a limit file, any referenced limit structures must be created first, either in the UI, or by uploading a limit structures file.
2. Choose a valid CSV file from your local drive: click **Choose file** and navigate to the required file, then click **Open**.
Atoti Limits displays a preview of your file in a table before the upload:
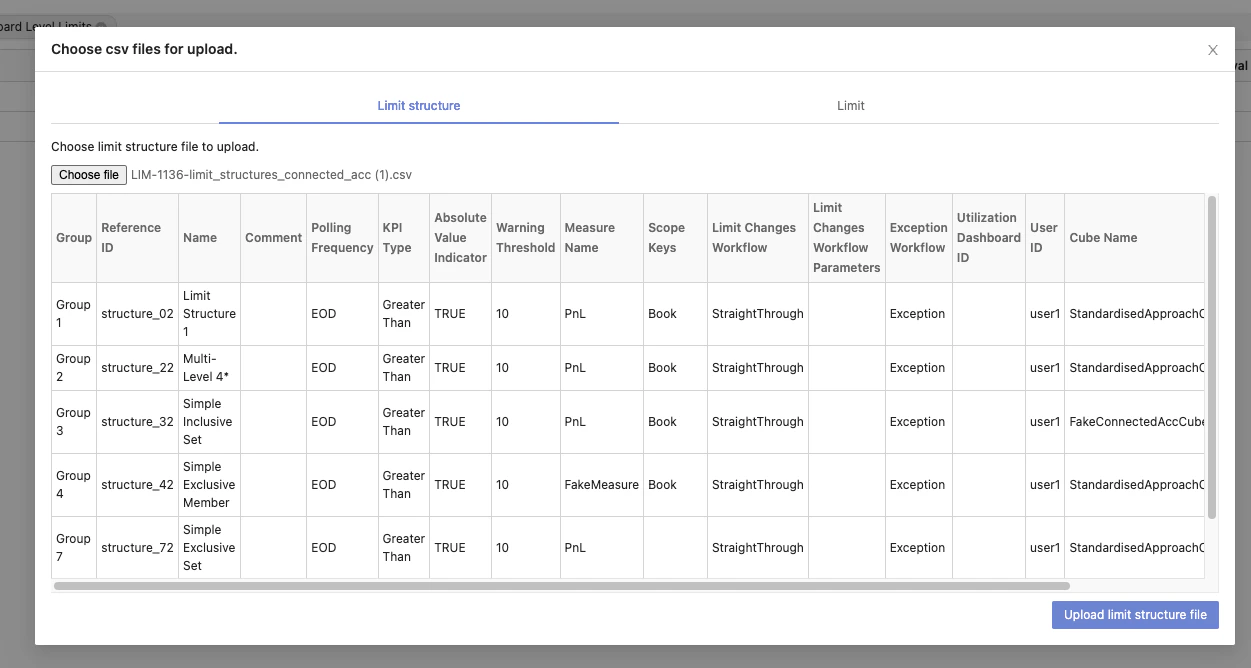 3. Click **Upload limit structure file**/**Upload limit file**.
If there are any errors, the preview displays detailed error messages:
3. Click **Upload limit structure file**/**Upload limit file**.
If there are any errors, the preview displays detailed error messages:
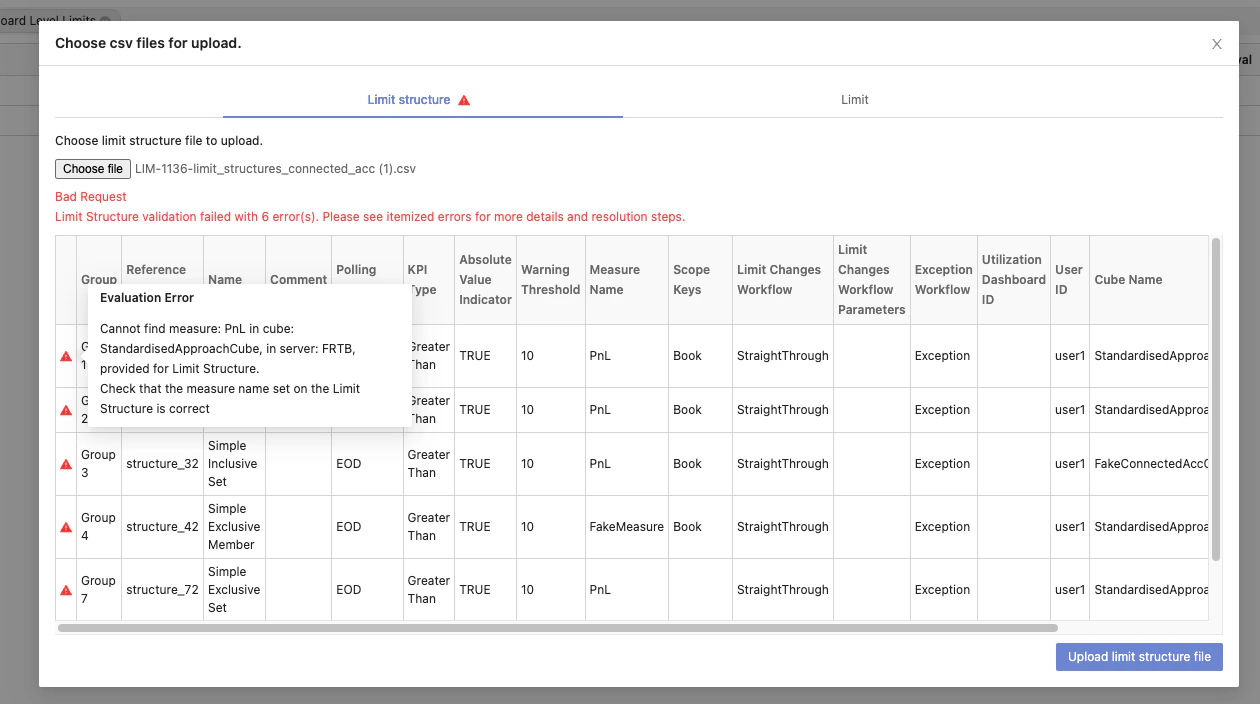 If the file is valid, the file is uploaded to the server and the Inventory table automatically updates and displays the newly uploaded limits.
When a limit is created through upload, the StraightThrough workflow is applied and the limit goes directly into “APPROVED” status.
## CSV file criteria
* Ensure you have “APPROVED” **Workflow Status** in the limits as the reference implementation assumes the limits are valid without any further approval.
* Your input file must contain every field to be considered valid. You can use the **Download** feature to generate example CSV files. This creates a CSV file line by line.
* Limits with the same name, cube, measure and scope will also be checked if their dates overlap with existing limits. If so, the upload will fail and no limits will be created.
## Download Limits
You can also download limits and limit structures from the Limits Inventory. Clicking **Download** downloads two CSV files, one containing the limit structures, and another containing data for each individual limit.
If the file is valid, the file is uploaded to the server and the Inventory table automatically updates and displays the newly uploaded limits.
When a limit is created through upload, the StraightThrough workflow is applied and the limit goes directly into “APPROVED” status.
## CSV file criteria
* Ensure you have “APPROVED” **Workflow Status** in the limits as the reference implementation assumes the limits are valid without any further approval.
* Your input file must contain every field to be considered valid. You can use the **Download** feature to generate example CSV files. This creates a CSV file line by line.
* Limits with the same name, cube, measure and scope will also be checked if their dates overlap with existing limits. If so, the upload will fail and no limits will be created.
## Download Limits
You can also download limits and limit structures from the Limits Inventory. Clicking **Download** downloads two CSV files, one containing the limit structures, and another containing data for each individual limit.