> ## Documentation Index
> Fetch the complete documentation index at: https://docs.activeviam.com/llms.txt
> Use this file to discover all available pages before exploring further.

# Audit History screen

> How to use the Audit History screen to view a complete record of all limit and workflow activity in one place.

The **Audit History** lets you view all your audit entries in a single screen.

Check out our video overview of the Audit Service:

<Frame>
  <iframe src="https://fast.wistia.com/embed/iframe/489g0vwnjd" width="100%" height="400" frameBorder="0" allowFullScreen />
</Frame>

### Accessing the Audit History screen

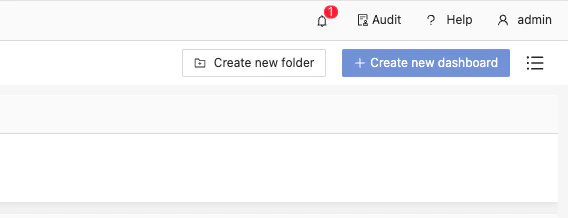
To view your audit history, navigate to the **Audit History** screen in Atoti UI. You can access it by clicking the **Audit** menu item in the top right hand corner of the application.

<Note>
  The menu might be hidden if the user is not authorized to access the Audit feature on any of the configured servers.
</Note>

The **Audit History** screen displays all audit entries for the servers that have been configured and for which the user is authorized. For more information on this, see [Configuring the UI](https://docs.activeviam.com/products/modules/audit-service/1.0/online-help/getting-started/configuring-the-ui.).

<Frame>
  <img src="https://mintcdn.com/activeviam/iy5FyCKdXjhHAnDS/atoti-intelligence/workflows/limits/6.1/images/audit-icon.png?fit=max&auto=format&n=iy5FyCKdXjhHAnDS&q=85&s=6283f050e44a66b005a10dd9f77a7781" alt="" width="568" height="218" data-path="atoti-intelligence/workflows/limits/6.1/images/audit-icon.png" />
</Frame>

### Configuring the table

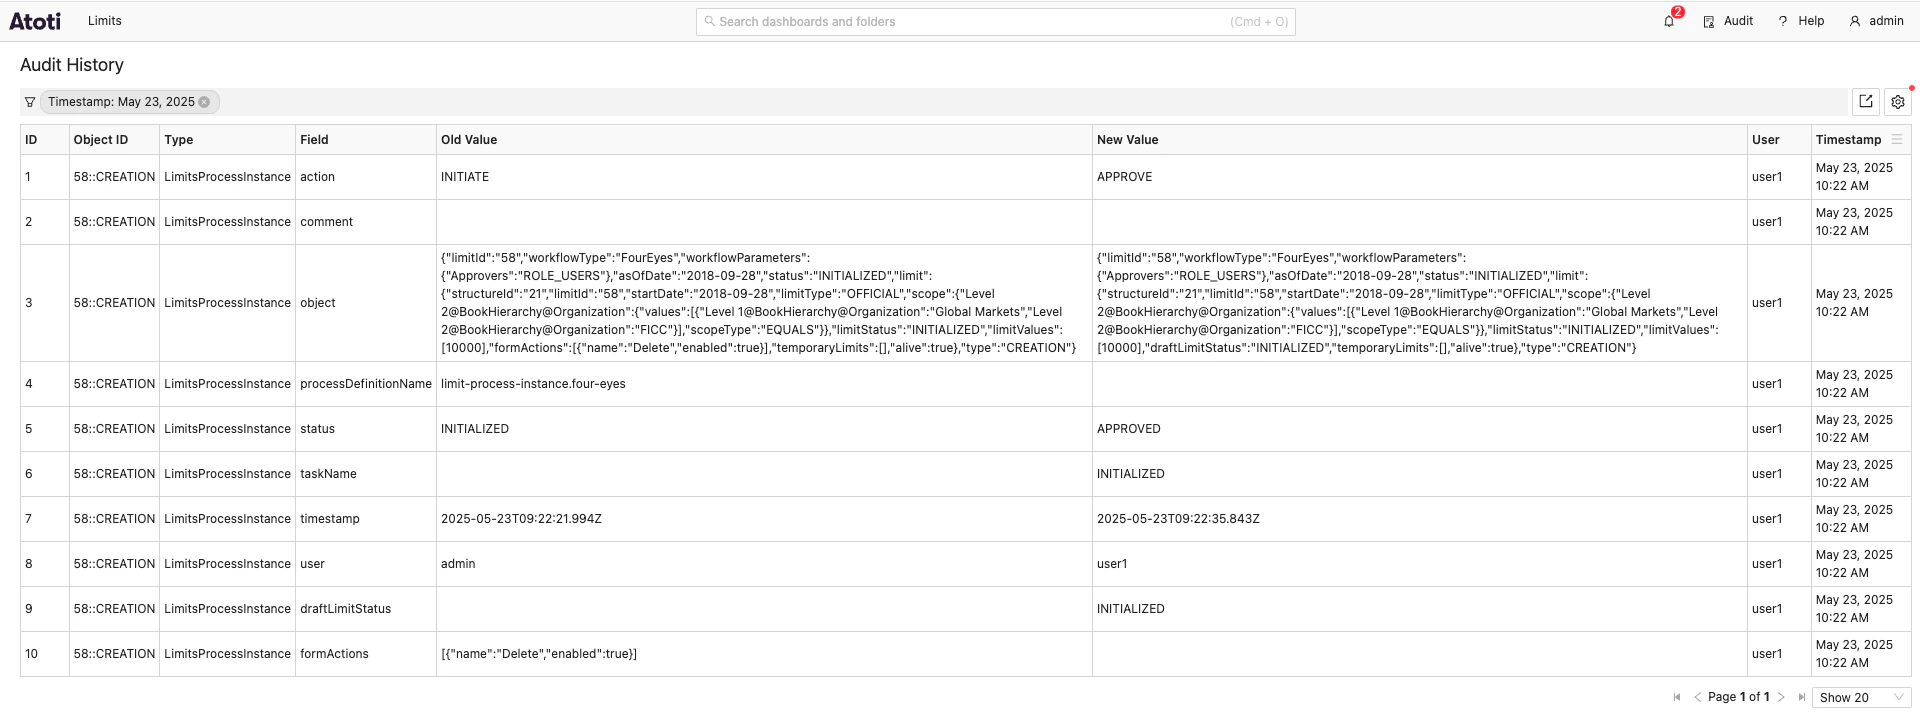
Once on the **Audit History** screen, you will see a table with the following columns displayed by default:

<table><thead><tr><th>Column</th><th>Description</th><th>Example</th></tr></thead><tbody><tr><td>ID</td><td>The numeric ID of the audit entry.</td><td>1</td></tr><tr><td>Object ID</td><td>The ID of the object that was changed.</td><td>sign-off-definition::2023-09-01</td></tr><tr><td>Type</td><td>The type of the object that was changed.</td><td>SignOffProcessDefinition</td></tr><tr><td>Field</td><td>The field that was changed.</td><td>status</td></tr><tr><td>Old Value</td><td>The old value of the field.</td><td>status</td></tr><tr><td>New Value</td><td>The new value of the field.</td><td>Saved</td></tr><tr><td>User</td><td>The user who made the change.</td><td>Published</td></tr><tr><td>Timestamp</td><td>The timestamp of the change, in your local time zone.</td><td>2025-03-14 11:05:06</td></tr></tbody></table>

<Frame>
  <img src="https://mintcdn.com/activeviam/iy5FyCKdXjhHAnDS/atoti-intelligence/workflows/limits/6.1/images/audit-screen.png?fit=max&auto=format&n=iy5FyCKdXjhHAnDS&q=85&s=b59305e1b34a54ac9bd014b0cdec6571" alt="" width="1920" height="724" data-path="atoti-intelligence/workflows/limits/6.1/images/audit-screen.png" />
</Frame>

By default, the table displays audit entries for the current day, but you can filter and sort the data in a way that best suits your needs.

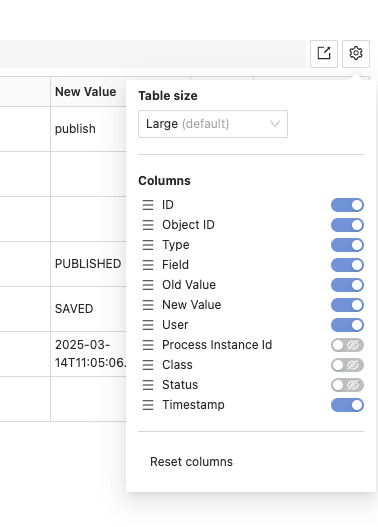
Additional fields can be added to the audit entry, see [Getting started](https://docs.activeviam.com/products/modules/audit-service/1.0/online-help/getting-started.) for more information.
These will be hidden by default, but can be enabled by toggling the column visibility in the column configuration.
<Frame>
  <img src="https://mintcdn.com/activeviam/iy5FyCKdXjhHAnDS/atoti-intelligence/workflows/limits/6.1/images/audit-column-configuration.png?fit=max&auto=format&n=iy5FyCKdXjhHAnDS&q=85&s=af4c78b49e1c03cf817cfd15a8c50781" alt="" width="378" height="527" data-path="atoti-intelligence/workflows/limits/6.1/images/audit-column-configuration.png" />
</Frame>

### Exporting data

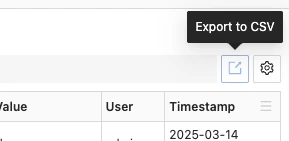
You can export the data from the audit table to a CSV file. To do so, use the export button located in the top right corner of the audit history table.
<Frame>
  <img src="https://mintcdn.com/activeviam/iy5FyCKdXjhHAnDS/atoti-intelligence/workflows/limits/6.1/images/export-data.png?fit=max&auto=format&n=iy5FyCKdXjhHAnDS&q=85&s=c3959c0403aca03f482abcb345d154fb" alt="" width="289" height="141" data-path="atoti-intelligence/workflows/limits/6.1/images/export-data.png" />
</Frame>

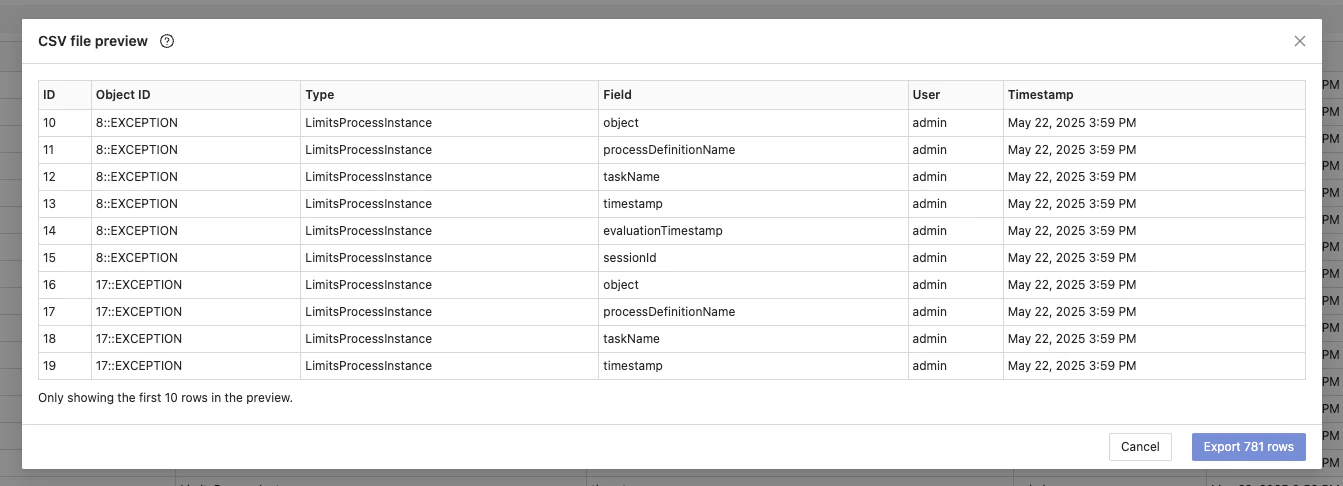
Clicking the export button displays a preview of the data to be exported. Click “Export X rows” to download the CSV file.
<Frame>
  <img src="https://mintcdn.com/activeviam/iy5FyCKdXjhHAnDS/atoti-intelligence/workflows/limits/6.1/images/export-preview.png?fit=max&auto=format&n=iy5FyCKdXjhHAnDS&q=85&s=72f1b87574d897bf867d557e2389c57b" alt="" width="1343" height="486" data-path="atoti-intelligence/workflows/limits/6.1/images/export-preview.png" />
</Frame>

<Tip>
  The exported data takes into account any table configurations you may have, including filters, sorting, and columns.
</Tip>